Quick answer: how to add a macro in Bloody 7
Confirm that Bloody 7 is the correct utility for your exact mouse, create a separate library folder, import the supported macro file, inspect its timing, assign it to a programmable control, press APPLY, and test the result in a harmless window. Keep a neutral profile available so you can immediately return the mouse to ordinary clicks.
Do not install a driver simply because the mouse carries the Bloody name. The official download page associates software with individual models, while newer supported devices can use Bloody WorkShop8. If you need screenshots of the classic Headshot workflow, open the TopMacro Bloody 7 installation guide for your language.
Choose Bloody 7, WorkShop8, Bloody Esports, or Oscar correctly
The product name alone does not identify the required application. Find the model code on the underside of the mouse, search for that exact code on Bloody's official download page, and use the package offered for it. This prevents the common situation in which a utility installs successfully but never detects the device.
| Situation | Sensible starting point | What to verify |
|---|---|---|
| An existing supported setup already works in Bloody 7 | Keep Bloody 7 while you back up and document the profile | The mouse is detected and the required Core functions are available |
| The model page offers Bloody WorkShop8 | Use the current upgraded platform | Bloody lists Windows 10/11 and free programming functions for the upgrade |
| The model is supplied with Bloody Esports software | Follow that model-specific editor | Do not force a Bloody 7 tutorial onto a different interface |
| An older A4Tech X7 mouse uses Oscar Editor | Use its own editor and compatible files | Button names and import steps differ from Bloody 7 |
Bloody's current product pages describe WorkShop8 as the upgraded version of Bloody7, but that does not make every older device identical. Preserve a functioning installation until the replacement has recognised the mouse and reproduced the controls you need.
Prepare a reversible setup before importing anything
A few minutes of preparation make recovery much easier than guessing which setting changed. Connect the mouse directly to the computer, let Windows finish recognising it, open the vendor utility, and confirm that the model shown on screen matches the device in your hand.
- Save the current state. Export the profile if the application provides that command and capture screenshots of button assignments, CPI, report rate, and active Core mode.
- Create a test profile. Do not overwrite the only layout that already works.
- Extract the download. Work with the actual macro files, not a ZIP or RAR archive.
- Read the supplied notes. A sequence may depend on a particular application setting, key binding, or playback style.
- Plan an exit control. Leave one normal profile or button that can stop repetition and restore standard behaviour.
Understand .mgn and .amc files before adding them
Macro packages for older Bloody and A4Tech utilities commonly contain .mgn or .amc files. Treat the extension as a routing clue, not proof that the file is safe or compatible. Obtain files from a source you trust, scan the archive, and reject installers or scripts that are unrelated to the mouse editor.
| File | Typical use in a classic setup | Practical handling |
|---|---|---|
.mgn | A Bloody library item intended for a compatible Headshot workflow | Place it in the selected game library, refresh the list, and inspect it before assignment |
.amc | An Oscar-style macro that some Bloody builds can import or convert | Open it through the available M-MACRO or button-file command; do not merely rename the extension |
| Archive | A delivery container, not an importable macro | Extract it to a clearly named folder first |
| Unknown executable | Not required for an ordinary macro import | Do not run it solely because it was packed beside a macro |
On many classic English installations the library is below C:\Program Files\Bloody7\Data\Mouse\English\ScriptsMacros\GunLib\. Your drive, installation directory, language folder, or software generation may differ. Use the folder opened or referenced by your own application rather than creating a guessed path.
Import an existing macro into the Bloody 7 library
Classic Bloody 6/7 builds often organise macro content under Headshot. Interface wording varies, so follow the purpose of each step if your build uses a slightly different label.
- Verify device detection.
Open Bloody 7 and wait until the correct mouse appears. Importing into an empty editor is pointless if the driver has not attached to the device.
- Create a dedicated category.
Add a new game or library folder with a clear name. Keep unrelated profiles and versions separate.
- Add the compatible file.
Copy an
.mgnfile into that library, or use the M-MACRO/import command for an.amcfile when your build exposes it. - Return and refresh.
Reopen the category or restart the utility if the list was already cached before the file arrived.
- Open the sequence.
Check the name, event order, pauses, and intended trigger. Never assign an unfamiliar sequence without reviewing it.
- Save with APPLY.
Wait for the application to finish writing the profile; disconnecting the mouse during this stage can leave the assignment incomplete.
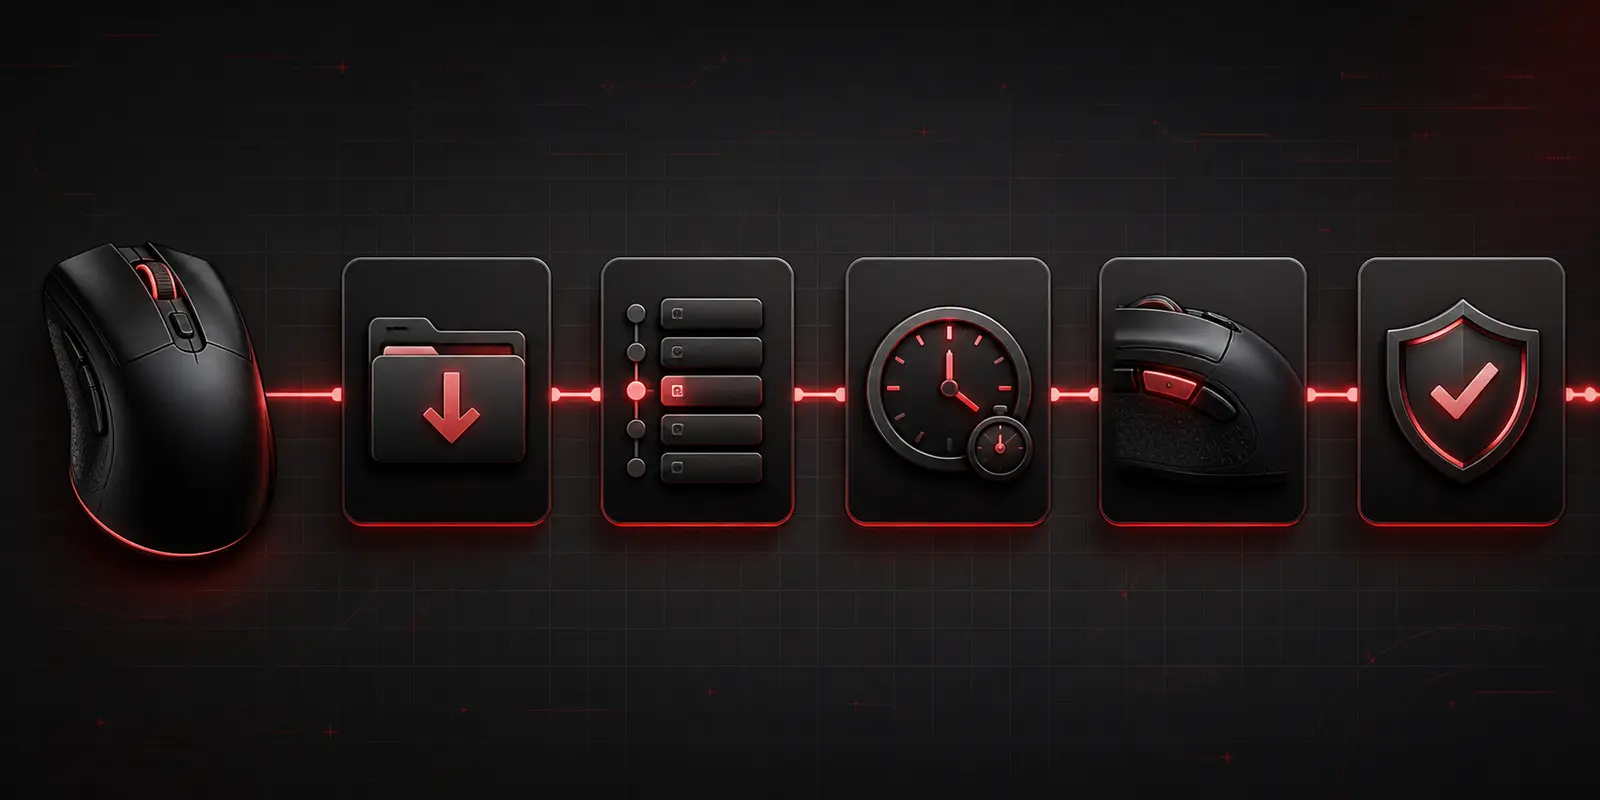
Create a new Bloody 7 macro instead of importing one
When the utility offers Oscar Macro, M-MACRO, or a comparable editor, build the shortest sequence that performs one clearly defined task. A compact macro is easier to audit and less likely to fail when the target application responds slowly.
- Write the action on paper first.
List each press, release, click, wheel event, and pause in the intended order.
- Create a blank item.
Name it with the application, purpose, and revision, for example “Editor — insert template — v1”.
- Record one clean pass.
Start deliberately, perform only the planned inputs, and stop immediately after the final event.
- Inspect press/release pairs.
Remove accidental duplicates and make sure a held key or mouse button has a matching release event.
- Use realistic delays.
Begin conservatively. If one stage is skipped, increase the pause around that stage rather than speeding up the whole sequence.
- Save a new revision.
Keep the last working version until the edited one has passed several controlled tests.
Assign the macro without losing normal mouse control
Open the button or Core assignment screen, select the physical control, choose the prepared macro and its playback behaviour, then apply the profile. Classic layouts may show 1-Key, N-Key, and 3-Key controls; which buttons accept macros depends on the model and enabled Core mode. Do not assume that a setting from another mouse will be available on yours.
Test a single playback first in a text editor or other non-critical application. Add repetition only after the base sequence is predictable. If a macro changes the left button, verify the neutral profile before opening any program where an unintended click could matter.
Bloody 7 macro problems and focused checks
The mouse is not detected
Confirm the exact model and official package, connect directly instead of through a hub, close competing mouse utilities, and restart the vendor application.
The imported file is absent
Check the active game category, extension, language-specific library path, and whether the list needs to be reopened. An .amc file may require the import command rather than a simple copy.
APPLY never finishes
Stop repeated clicks, leave the mouse connected, restart the utility, and try a small test profile. Also verify that security software has not blocked writes to the application data folder.
The wrong button activates it
Compare the physical button with the device diagram and confirm the active profile and Core mode. Similar models can expose different control numbers.
Actions are skipped or reordered
Inspect every event, restore missing release rows, and add a modest delay around the first failing action. Test once without loops.
A previously working function disappeared
Check whether the software, firmware, active Core mode, or licence state changed. Restore the saved configuration before making further edits.
Use macros within the rules of the application or game
A vendor utility does not grant permission to automate every task. Games, servers, leagues, tournaments, and other services define their own limits, and those rules can change. A sequence that combines gameplay actions, repeats input, or removes a timing challenge may be prohibited even when the mouse officially supports macros.
Check the current policy for the exact game and mode before use. Safer contexts include desktop productivity, accessibility, creative tools, and offline testing where automation is expressly allowed. Avoid unattended loops and never rely on claims such as “undetectable” or “zero ban risk”.
Technical reliability and acceptable use are separate questions. Keep manual control available, use the smallest necessary sequence, and stop if the target behaves differently from the controlled test.
Sources and further reading
This article was independently written and checked against current manufacturer information and the original TopMacro walkthrough. The sources support model selection, software status, and interface context; their wording was not copied.
- Bloody official downloads: software and manuals by model
- Bloody official page: WorkShop8 and Bloody7 for a supported model
- Bloody official manual: software choice and onboard profile context
- TopMacro: Bloody 7 import and assignment walkthrough
Information and links checked on August 21, 2026. Software names and available functions can change by model and later release.
FAQ
Frequently asked questions about Bloody 7 macros
Where should I download Bloody 7?
Use Bloody's official model-based download page. Search for the exact code printed on your mouse and install only the software offered for that device. Newer supported models may be directed to Bloody WorkShop8 instead.
What is the difference between .mgn and .amc files?
An MGN file is commonly used as a Bloody library item, while AMC is associated with the Oscar macro format and may need an import or conversion command. The exact workflow depends on the mouse and software build.
Where are Bloody 7 macros stored?
Many classic English installations use a GunLib folder inside the Bloody7 program data tree, but the drive, language directory and software generation can differ. Use the location shown by your own application rather than guessing it.
Why does an imported macro not appear?
Confirm the active library category and file extension, reopen the list, and check whether the file belongs in a language-specific folder. AMC files may require the M-MACRO or button-file import command instead of a direct copy.
Can I create a macro directly in Bloody 7?
Yes, on supported models and builds that provide Oscar Macro, M-MACRO or a comparable editor. Record a short sequence, inspect every event and delay, then save and test it once before enabling repetition.
Will a Bloody macro work without the utility running?
Some supported devices can store assignments in onboard memory, but capability varies by model, Core mode and sequence. Verify the exact mouse with the utility closed instead of assuming all Bloody devices behave alike.
Are Bloody 7 macros permitted in every game?
No. Mouse support does not override the rules of a game, server, league or tournament. Check the current policy for the exact mode and avoid prohibited automation or sequences that create an unfair advantage.