Quick answer: the shortest reliable WorkShop 8 workflow
Verify the exact mouse model, install its current official editor, keep one neutral profile, create a game folder under Macro Settings, import the supported file into that library, assign it under Buttons in Full Key Programming, press APPLY, and test one finite cycle on a non-primary button.
For a shorter screenshot-led walkthrough, open the TopMacro Bloody WorkShop 8 article for this language. This EasyMacro article is a separately written, expanded guide with a different structure, additional compatibility checks, and a reversible troubleshooting path.
Choose WorkShop 8, Bloody 7, or Bloody Esports by model
A successful installation is not proof that the editor supports the connected mouse. Read the model code from the underside of the device and look up that exact model on Bloody’s official download page before following any button or macro instructions.
| Situation | Best starting point | Verify before changing anything |
|---|---|---|
| The model page offers Bloody WorkShop 8 | Use the current upgraded programming platform | The device is detected and Buttons, Macro Settings, and the required programming mode are visible |
| A stable Bloody 7 profile already works | Keep it until the WorkShop 8 test is complete | Screenshots or exports exist and the new editor can reproduce the essential bindings |
| The model belongs to an Esports line with its own editor | Use Bloody Esports when the official page specifies it | Do not force WorkShop 8 menu paths onto a different interface |
| The device is an older A4Tech/X7 model | Follow the model-specific Oscar editor | Supported file types and assignment names can differ from WorkShop 8 |
Bloody’s global pages describe WorkShop 8 as the upgraded Bloody 7 generation, but regional model lists and supported functions can differ. Treat the exact model page and the controls visible in your installed build as the deciding evidence.
Install or upgrade Bloody WorkShop 8 without losing the working state
Use the manufacturer’s current download, close other mouse editors, and make the first launch a detection test rather than an immediate profile rewrite. Menu wording can change between releases, so follow the function of each control as well as its label.
- Download from the model page. Avoid repacked installers. Confirm the publisher, release information, Windows requirements, and the mouse series named on the page.
- Create a before-state record. Capture the current device name, profile, button map, sensitivity, polling rate, lighting, and any active Core or programming mode.
- Connect the mouse directly. During installation and the first profile write, use a stable computer USB port and let Windows finish device setup.
- Finish installation before importing. Restart only when requested, then open WorkShop 8 and verify that the correct mouse and its real controls appear.
- Switch to Full Key Programming deliberately. Use this mode only after the neutral layout is documented; it exposes the programmable button workflow needed for assignments.
- Keep a recovery control. Leave one ordinary profile or safe button available so an incorrect loop or primary-button remap can be stopped immediately.
Start WorkShop 8 normally. If a target application runs elevated and cannot receive the programmed input, test matching privilege levels. Do not run every utility as administrator without a specific reason.
Create a clean game folder in Macro Settings
WorkShop 8 organizes imported content inside its own library. A separate folder for each application and revision makes assignments easier to identify and prevents two similarly named files from being confused.
- Open Macro Settings.
Enter the macro-management area after the correct device and programming mode have been confirmed.
- Select the Oscar III library area.
Use the library or macro tab shown by your build; translated releases may use a slightly different label.
- Choose New Game.
Create a container for one application or test purpose instead of placing every file in a generic folder.
- Name the folder clearly.
Include the application and revision, for example “Editor shortcuts — test 1”, then confirm the name.
- Open the new folder.
Make sure its name is selected before importing so the file does not land in another profile’s library.
Treat the program’s library as the source of truth. Manual edits inside an undocumented installation folder can be ignored, overwritten during an update, or attached to the wrong language-specific library.
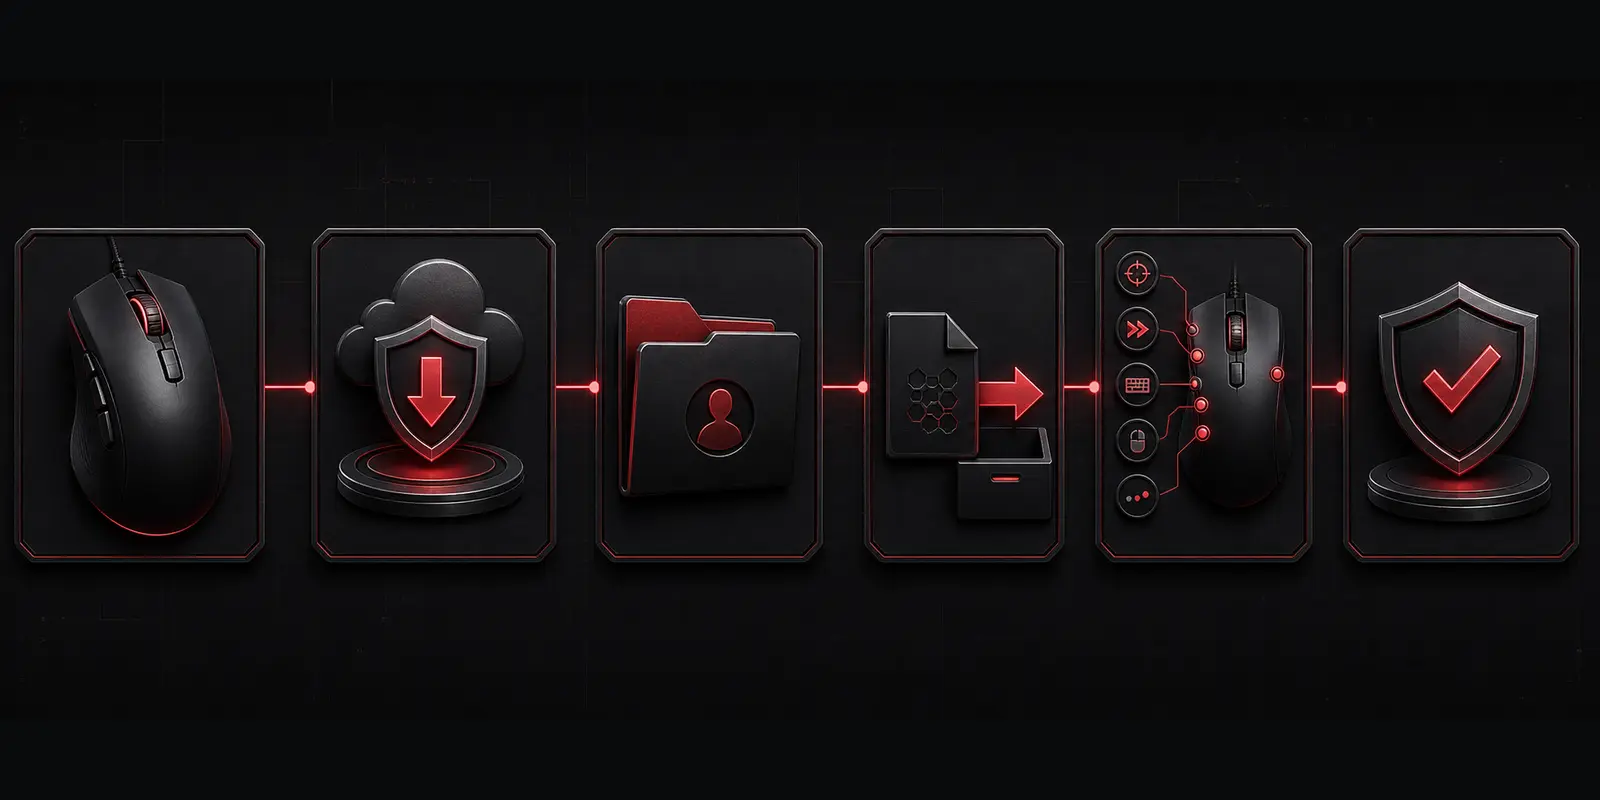
Import an external macro into the WorkShop 8 library
Prepare the actual macro file in a clearly named folder before opening the import dialog. An archive is only a delivery container; extract it, scan it, read any setup notes, and reject unexpected executable files.
- Select External File.
In Macro Settings, open the external-file source and browse to the extracted macro rather than selecting the ZIP or RAR archive.
- Inspect the selected item.
Confirm its filename, extension, intended application, trigger description, and any required in-app key bindings before transfer.
- Transfer it into the program library.
Use the transfer arrow or equivalent command to move the item into the selected game folder in the library column.
- Confirm the library result.
WorkShop 8 may not show a large success notice. Verify that the imported name is visible in the destination folder and press OK to finish.
- Preserve the original file.
Keep the untouched download and a separate working copy so later timing edits can be compared or rolled back.
Understand profiles and the 1, 3, and N mode buttons
WorkShop 8 can expose ordinary programmable buttons and model-specific mode controls in the same editor. Their availability and names are not universal, so treat the screen for your mouse as authoritative.
| Control or profile | Practical role | Safe organization |
|---|---|---|
| Neutral profile | Ordinary mouse behavior and recovery | Keep primary click and navigation unchanged |
| Programmed profiles | Separate layouts for individual applications or tests | Name each profile and avoid mixing unrelated macros |
| 1 / 3 / N buttons | Special model-supported programmable or mode controls | Match the screen label to the physical button before assignment |
| Activation button | Enables or disables a state used by another trigger | Make the active state obvious and test the off path first |
Do not assume that Profile 1, Profile 2, or an N button behaves identically on another Bloody model. Document the working screen, physical trigger, and selected macro together.
Create or tune your own WorkShop 8 macro safely
A maintainable macro has one permitted outcome, a known trigger, balanced press and release events, and a visible end. Plan the sequence before recording so accidental input does not become part of the final file.
- Describe one result in plain language.
Write what should happen and in which application state; split unrelated tasks into separate macros.
- List every event.
Record each press, pause, release, click, and wheel action in order before optimizing timing.
- Create a short first revision.
Use the editor available in your WorkShop 8 build and enter only the minimum actions needed for one complete cycle.
- Audit press/release pairs.
Remove accidental duplicates and make sure no key or button remains logically held at the end.
- Tune one delay at a time.
If the target misses an event, adjust the pause around the first failure rather than accelerating the entire sequence.
- Save a new revision.
Keep the last working file, profile screenshots, and a note with mouse model, software build, trigger, mode, and date.
Speed is not the same as reliability. A slightly slower finite sequence that behaves consistently and can be stopped is preferable to an aggressive loop whose state is unclear.
Bloody WorkShop 8 macro does not work: focused checks
Diagnose in order: exact model, editor build, device detection, library import, active profile, physical trigger, privilege level, and target rules. Reinstalling first can erase the evidence that identifies the broken layer.
The mouse is absent or shows the wrong controls
Return to the official model page, use the package assigned to that device, connect directly, and close competing mouse utilities before reopening WorkShop 8.
The file does not appear after import
Confirm that it was extracted, accepted by the external-file dialog, transferred into the selected game folder, and confirmed with OK. Reopen that folder before restarting the editor.
The macro is in the library but the button is unchanged
The import succeeded but the assignment did not. Open Buttons, verify Full Key Programming, choose the physical control, select the item, and press APPLY.
The wrong button or profile activates
Compare the mouse diagram with the real device, check the selected profile, and separate direct playback from activation-mode behavior.
Actions are skipped or stay held
Test one cycle, inspect event order and every release, then restore a modest delay around the first missed action.
Settings fail only in one elevated application
Run both programs at the same privilege level for that test. Avoid permanent administrator mode when normal launch works elsewhere.
The setup broke after an update
Restore the documented neutral profile, compare the current WorkShop 8 build and mode with the saved state, and reapply one known-small test before importing the full library.
For the original screenshot-oriented sequence in the matching language, compare the TopMacro WorkShop 8 setup guide.
If you need a prepared macro for a supported mouse and application, review the EasyMacro catalog and verify the listed editor, model, trigger, and setup requirements before purchase.
Use mouse automation only where the current rules allow it
Bloody WorkShop 8 is official device software, but that does not make every imported sequence acceptable in every game. Publishers, servers, leagues, and tournaments can restrict repeated input, multi-action bindings, recoil-related assistance, unattended play, or other automation.
Check the current policy for the exact game, server, mode, and event before enabling a macro. No vendor, file seller, or hardware manufacturer can guarantee that a configuration is “undetectable” or safe from future enforcement.
Keep manual control available, begin with a finite test, and use the smallest sequence needed for an allowed purpose. Technical operation and permitted use are separate questions; both must be satisfied.
Sources and editorial verification
This guide was independently structured and written. Current manufacturer pages were used for software status, model selection, and installation context; the corresponding TopMacro article was consulted to verify the WorkShop 8 menu flow without copying its wording or paragraph order.
- Bloody official site: current WorkShop 8 software overview
- Bloody official site: software and manuals by exact model
- Bloody official model page: WorkShop 8 installation steps and requirements
- TopMacro: localized Bloody WorkShop 8 macro walkthrough
Facts and links checked on August 22, 2026. Available models, menu labels, requirements, and software builds can change after publication.
FAQ
Questions about Bloody WorkShop 8 macros
How do I add a macro to Bloody WorkShop 8?
Open Macro Settings, create or select a clearly named game library, choose the external-file command, import the supported macro into the program library, confirm it, then open Buttons in Full Key Programming, select a programmable control, choose the imported item, press APPLY, and test one cycle.
Should I replace Bloody 7 with WorkShop 8?
Use the software offered for the exact mouse model on Bloody’s current download page. If Bloody 7 already works, document and back up that configuration before testing WorkShop 8; do not remove the only working setup until the new editor detects the mouse and reproduces the required controls.
Where does Bloody WorkShop 8 keep imported macros?
WorkShop 8 manages its game folders and imported items through its own library interface. The reliable method is to create, import, rename, and export through the program rather than guessing an internal disk path that may change by build or language.
Why is the imported macro missing from the button list?
Check the active game folder, profile, supported file type, and whether the transfer into the program library was confirmed. Reopen the folder or restart WorkShop 8 only after verifying that the item appears in Macro Settings.
What is the difference between a direct macro and an activation macro?
A direct assignment plays when its programmed button is pressed. An activation-style assignment uses one control to enable or disable a mode, while the sequence is triggered by another supported action, often the primary button. Confirm the expected trigger before testing.
Do WorkShop 8 macros work on every Bloody mouse?
Do not assume so from the brand name alone. Software, available tabs, onboard functions, and programmable controls vary by model, series, firmware, region, and current release. Verify the exact model on Bloody’s official download page.
Are Bloody mouse macros allowed in every game?
No. Device software does not override game, server, league, or tournament rules. Review the current policy for the exact title and mode before using multi-action input, repetition, recoil-related sequences, or any other competitive assistance.